Scaling roast profiles from a small roaster to a production drum
Scaling roast profiles from a sample or shop roaster to a 60 or 120 kg drum: what transfers, what must be rebuilt, and a trial method that works.
Short answer: When scaling roast profiles to a 60 kg (132 lb) or 120 kg (265 lb) drum, carry over targets, not settings. Roast color, development ratio, the shape of the rate of rise and the cup transfer. Charge temperature, gas and airflow settings, and probe readings must be rebuilt on the large machine through a short series of logged trial roasts.
The blend was approved on a 5 kg (11 lb) roaster. The buyer liked it, signed for a monthly volume, and now it has to come out of a drum that takes 60 kg (132 lb) per batch. The temptation is to copy the curve point by point. That almost never works, and the reason is physics, not operator skill.
Why a bigger drum behaves differently
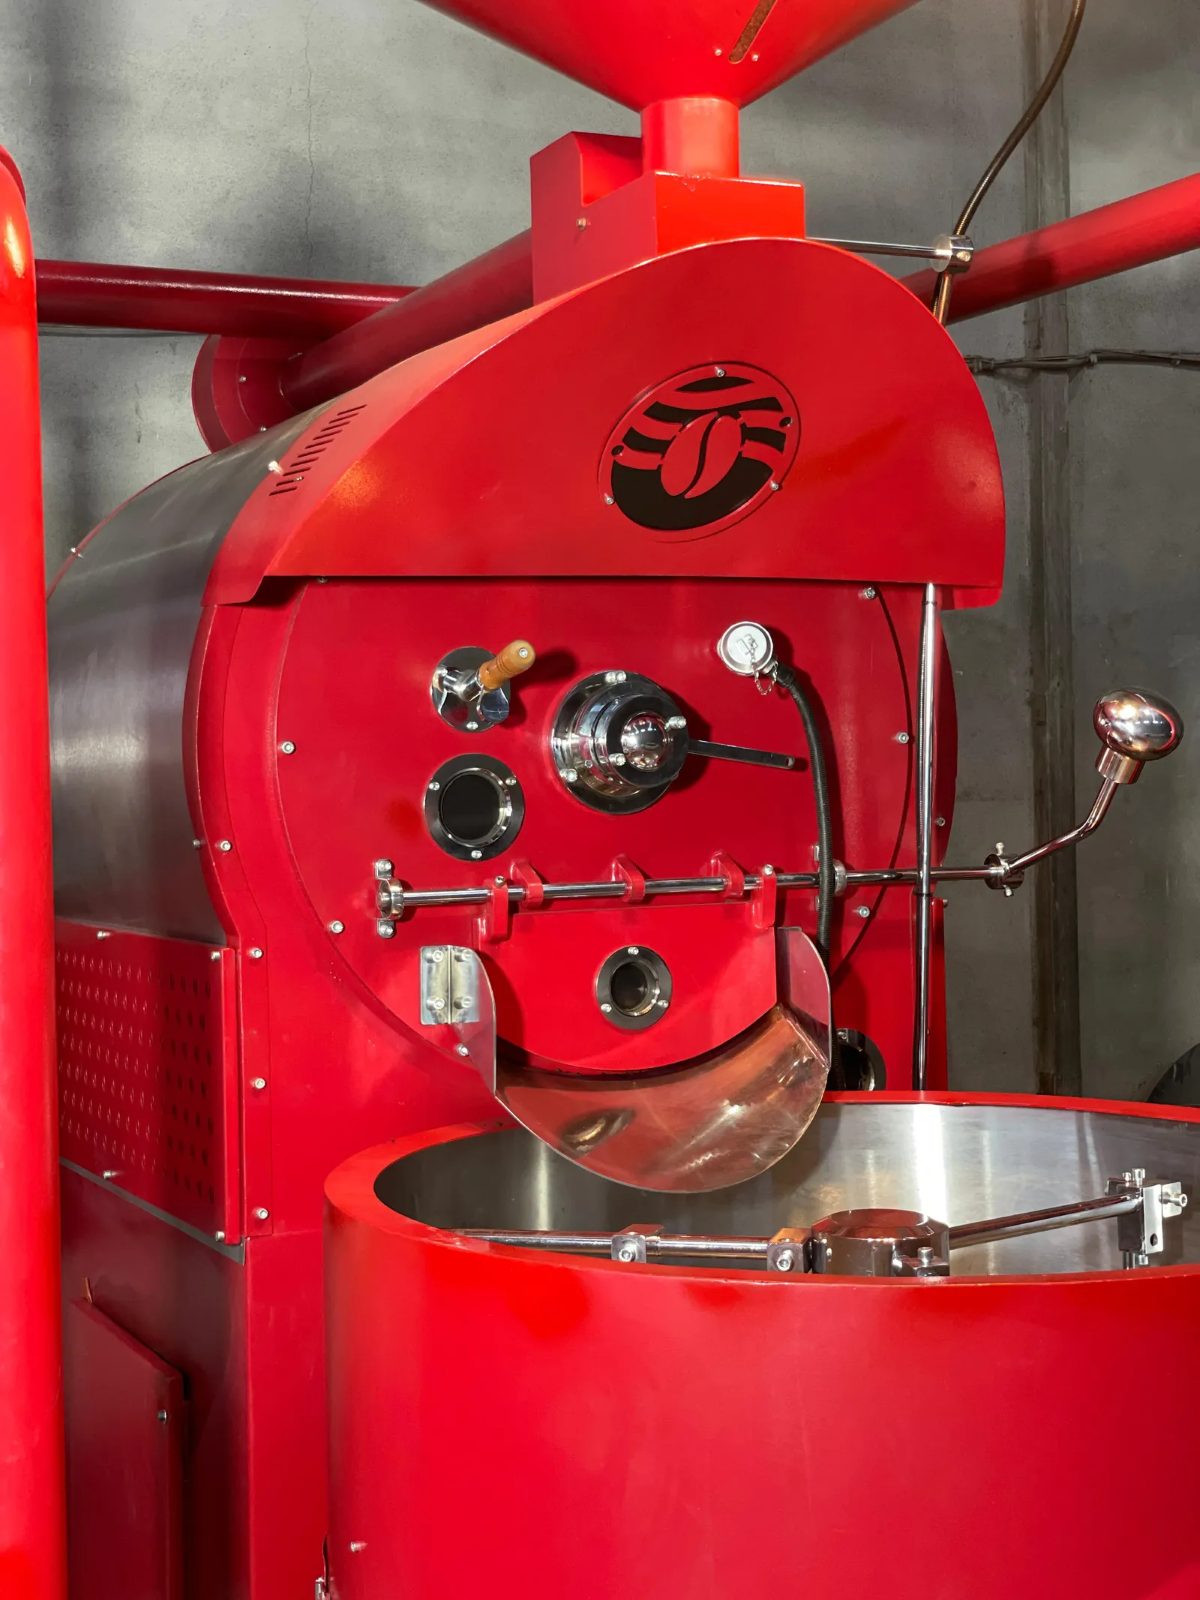
A large drum carries far more steel, and that steel stores heat. It also holds a much larger bean mass, which absorbs heat at the start of the roast and releases moisture and smoke in larger volumes later. The burner, the fan and the drum all have more inertia. A change in gas setting shows up in the bean temperature later than it did on the small machine, and it takes longer to undo.
Heat transfer shifts as well. In a small drum a larger share of the beans tends to touch hot metal at any moment. In a big drum, more of the work is done by hot air moving through a deep, tumbling bed. So the same "medium heat, open air at first crack" instruction means something different on each machine.
The instruments are not comparable either. Bean probes differ in thickness, position and how deep they sit in the bean pile. A probe that reads 205 °C at drop on one roaster can read several degrees higher or lower on another, for the same coffee at the same roast degree. Treat every number from the small roaster as a description of that machine only.
What transfers and what does not
| Parameter | Transfers to the large drum? | How to use it |
|---|---|---|
| Roast color (whole bean and ground) | Yes | Primary target, measured the same way on both machines |
| Development time ratio | Mostly | Keep it close, then confirm by cupping |
| Rate of rise shape | Yes, as a shape | Aim for a smooth, declining curve without a crash or flick |
| Total roast time | Roughly | Expect to land in the 12 to 16 minute cycle of the production roaster |
| End bean temperature | As a target only | Re-establish it against color on the new probe |
| Charge temperature | No | Rebuild for the new drum mass and batch size |
| Gas and airflow settings | No | Rebuild from the trials |
| Drum speed | No | Follow the manufacturer's range for that drum |
The development time ratio is the share of the roast after first crack begins. It carries over well because it describes the coffee, not the machine. Roast color is the most reliable of all, provided both batches are measured on the same color meter with the same grind and sample preparation.
Start from the cup, then work back
Before the first trial, write down what the approved coffee is, in numbers that do not depend on a machine. Ground color and whole bean color. Roast loss. Development ratio and total time. Then cupping notes from the approved reference, kept sealed and labeled as the standard. Together they form the specification. The curve from the small roaster becomes a guide to the shape, not a target to trace.
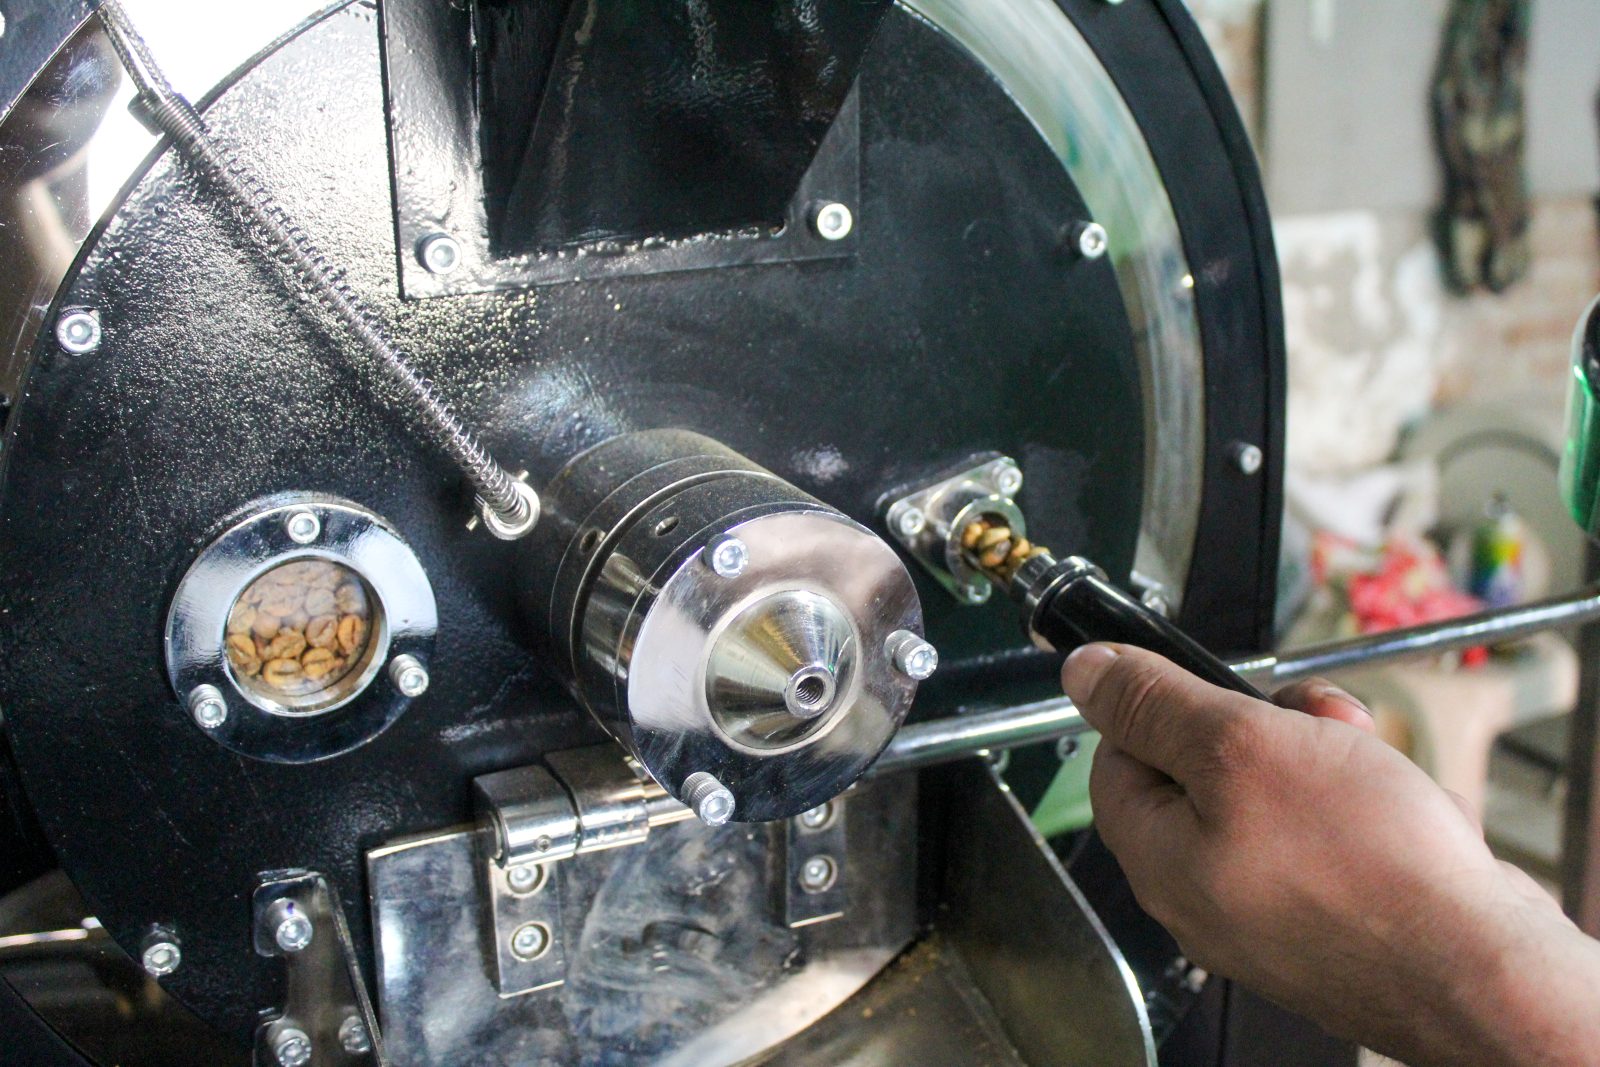
If the original was developed on a sample roaster, be more careful still. Sample roasters such as the Kafgar Sample Pro roast 80 to 120 g per drum and are built to judge green coffee quickly and fairly. A profile that flatters a lot on 100 g tells you what the coffee can do. It does not tell you how a 120 kg (265 lb) drum should be run.
A trial roast method that saves green coffee
Each trial on a production drum uses as much green coffee as a sellable batch, so the trials need a plan.
- Fix the batch size first. Run trials at the weight you will use in production, because batch size changes charge temperature, timing and heat demand. The post on choosing roaster capacity explains why a working batch below the rated maximum is normal.
- Set a starting charge temperature from the manufacturer's guidance for that batch, not from the small roaster.
- Roast the first batch with steady, moderate settings and mark the turning point, color change, first crack and drop. This is the baseline.
- Compare the baseline with the specification. Decide which single variable to move: charge temperature, gas, airflow or drop point.
- Change only that one variable on the next batch. Two changes at once make the log useless.
- Cup each trial against the reference, preferably blind and on the same day. Measure color and roast loss for every batch.
- Stop when color, roast loss and cup all sit inside tolerance on two batches in a row. Save that profile as the production master.
Plan ahead where trial coffee goes. Batches that cup clean but miss the exact target can often be used in a house blend or for staff training. Batches with defects should not be sold.
Logging the trials
A trial without a record is a wasted batch of green. Kafgar roasters are compatible with Artisan and Cropster, and both programs make it simple to overlay a trial on the reference curve and spot where they part. Log the bean temperature, environment or exhaust temperature, gas and airflow changes, first crack time, drop temperature and the batch number. Add color, roast loss and cupping score after the batch, linked to the same record.
Name profiles by coffee, batch size and machine, for example "House espresso, 55 kg, roaster 2". A profile built at 55 kg (121 lb) will not run the same at 40 kg (88 lb), and the name should make that obvious to the next operator. The background on how probes and curves work is in how coffee roasters control temperature.
Problems that often appear at scale
The most common fault on a first large batch is a crash in the rate of rise around first crack. The bean mass releases a burst of moisture and energy, the curve drops, and the coffee bakes. Reducing gas earlier and more gradually usually helps more than a late correction.
The second is a long drying phase. A heavy batch needs more energy at the start, so a charge temperature copied from a small roaster is often too low. The third is smoke and chaff. A big batch makes more of both, and if the chaff collector or cyclone is loaded, airflow falls and the profile drifts with it. Check the airflow path before blaming the profile.
Frequently asked questions
Can a roast profile be copied directly from one roaster to another of the same size?
Even between two roasters of the same model, small differences in probe position, exhaust layout and gas supply change the readings. Use the existing profile as a starting point, then confirm it with two or three logged trials against color and cupping.
How many trial batches does scaling a profile usually take?
It depends on how far the two machines differ and how tight the tolerance is. A disciplined plan that changes one variable per batch usually converges within a handful of roasts. Without a written specification, it can go on much longer.
Should the production roast be lighter or darker than the sample roast?
Neither by default. The approved reference sets the target. If the sample roaster was only used to judge green quality, agree a production target with the buyer first, then build the profile to that.
Does a larger batch need a longer roast time?
Not necessarily. Kafgar roasters from the KR-20 to the KR-240 all run 12 to 16 minute cycles. A large drum needs more energy, delivered at the right moment, to keep the timing in that window.
Building production profiles with Kafgar
Every Kafgar roaster is test-roasted at the factory before shipping, and for plant projects the Kafgar team takes part in the first roasts on site, which is a good moment to build the first production profiles together. The KR-60 and KR-120 both save programmable profiles on their PLC and work with Artisan and Cropster.
Request a quote on WhatsApp or by email at [email protected].